Hollywood Lighting
After the 1930's this type of photography used hard lighting therefore the actors and actresses had to be beautiful and good looking due to the harsh lighting. The brows of a face needs to be lit well as well as capturing some shadows of the eye lashes for a female. When photographing a women you need to use diffused lighting. As well as the main light a fill light can be used.
Film Noir;
This particular lighting started by telling a story to the viewers. It is generally set up within a studio setting rather than the actors homes. The lighting used is created so that it looks natural, most of the time two lights will be used which are hard lights. If a light is being used for the back of the subject it needs to be reduced so it isn't as powerful as the one in the foreground.
Research;
James Cagney; I have looked at this actor and his particular appearance. He comes across as one of the lads in a gang due to the relaxed posture and his facial expressions. He is the type of guy that gets his way. I feel that his expression and the lighting helps to present this. The right hand side image looks a really aggressive facial expression towards the camera.
Errol Flynn; Within this image, it presents a heroic person as he is looking away from the camera as if he has something better to look at. The camera angle is also slightly looking up towards the subject rather than being straight on at the same level as him.
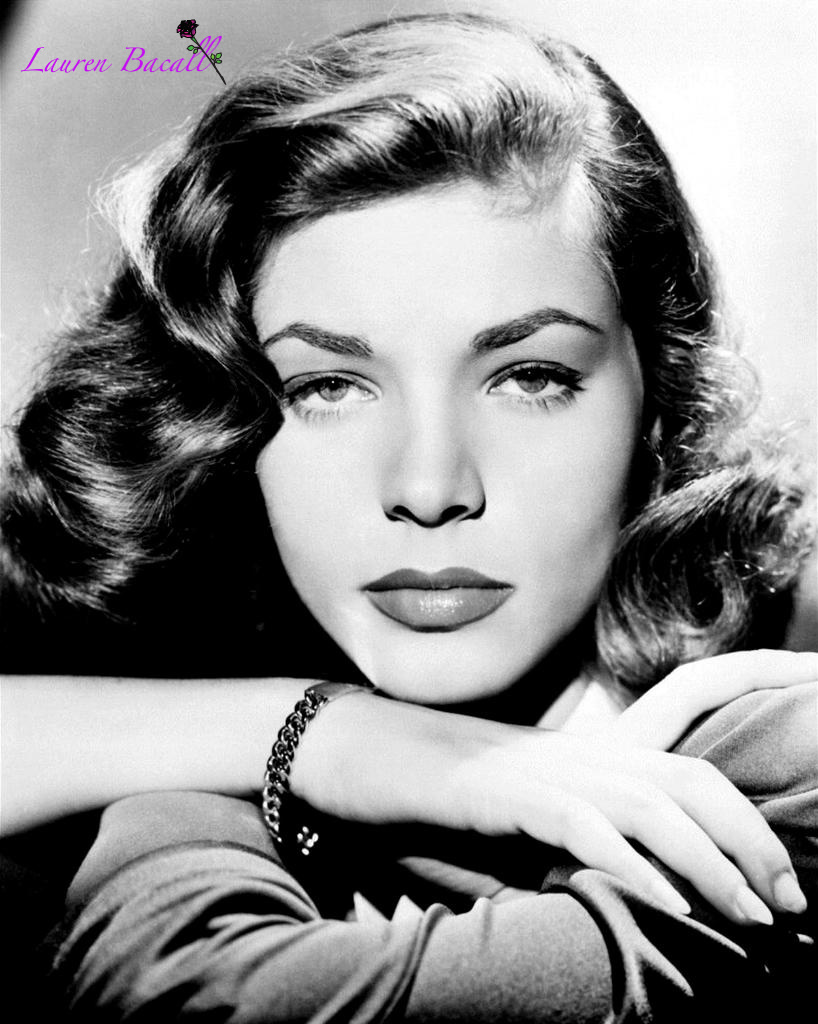
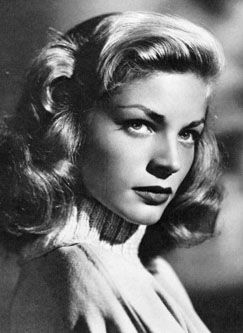
Lauren Bacall; I feel that she looks devious and seductive due to her facial expressions especially in the second image. The way she looks makes you think that she will have a man eating out of the palm of her hands. I have researched more poses within this actress to explore how the subject presents themselves. The lighting within the images really helps to emphasize the subjects beauty.

Audrey Hepburn; When I look at these images, the subject looks really innocent due to her beautiful wide eyes. Within the right hand image, the photographer has been able to capture the shadow of her eye lashes which helps to emphasize the beauty.

Common stylist techniques throughout these actors/actresses photographs are the hard lighting used to create shadows within certain parts of the face. The majority of the lighting is really dim due to the characteristics of the technique. Another common technique is capturing high lighting ratios. The subjects also tend to look away from the camera suggesting that they have something better to look at. The camera angle is also shot from a lower angle than them which shows a more of an importance.
Test Shots;
Before heading into the studio, I needed to experiment so that I could get the correct framing of the subject. I found that to get the correct angle and positioning of the subject was hard to begin with but within the studio I was able to do it. In the end I used a chair within the studio where the subject was able to lean on and create the pose needed. I asked my model to cross her arms, lean her head onto her arm and make sure her face was square onto the camera.Test Shot;
Lighting Setup
My studio setup contained two lights which was a snoot and a main light. I used the main light in the front of the subject to light their face from quite high looking down. I then placed a snoot behind the subject to the right hand side which was also quite high, this light was a hair light therefore used to capture the detail within the models hair. Within this shoot, I had to get the model and the camera into position and then sort the lighting out.
This was the image that I took within the studio. I then had to alter it within photoshop. Within photoshop, I created a black and white adjustment layer, cropping, altered the brightness and contrast, burnt some of the background in, removed some skin blemishes and darkened her lips. I felt that I needed to make these changes so that it looked more like the image I was replicating.
Replicate of Lauren Bacall
The right image above is my final image which I was able to replicate within the studio using the film noir style lighting after editing. The settings that I used for this shoot were;
ISO - 200Shutter Speed - 1/160
Aperture - F13
After recieving feedback off peers, I decided to re-edit the image. I feel that this helped the final appearance of the image as I had gained more experience and knowledge of how to edit portraits, especially with the skin tone.
This is my final image of the Hollywood Lighting Workshop.
Evaluation;
I feel that this shoot was really successful and that I was able to create a image that I was aiming for. The lighting I used worked to create the effect I needed and I feel the post production helped to finish the image to the stage it needed to be. I am happy with the final image and I feel that it went really well, this could be due to the preparation I completed beforehand. I would like to experiment more with this technique.


This comment has been removed by the author.
ReplyDeleteGood amount of research, I prefer the second edit for your final image it is a lot stronger and detailed.
ReplyDeleteThank you.
ReplyDeleteGood representation of the original image in both lighting and pose. I also prefer the second edit as it's more natural looking.
ReplyDeleteHi Jade, thorough answer to the brief with a strong outcome. Maybe a little more fill on the right side of the face would make it perfect!
ReplyDelete